We all understand trash to be anything that is no longer needed or in use. Just as we have trash cans in our offices and homes, electrical gadgets that have the ability to store files and documents also have a location where useless files can be dumped. However, it is pretty much possible that you get rid of an unwanted file from your SSD drive and then eventually find out that you need that same file. It is also possible to have mistakenly dumped the wrong file in a trash folder and then emptied the folder. When situations like these occur, then there is the need to make use of a third party SSD recovery software.
Making use of the Trash Folder on Mac.
Just like Windows has been pre-installed with a recycle bin, MacBook also has a similar feature but with a different name called the trash folder. When you naturally press the delete button from your keyboard to get rid of a file it automatically goes into the trash folder.
- The trash folder icon located on the home screen of the MacBook can be seen as empty when there are no trash files in it but as soon as any file gets into the trash folder, the icon changes to that of a bin with crumpled papers.
- Files documents and even icons can be dumped into the trash folder in a MacBook by simply dragging the selected files onto the trash icon. If a wrong file has been dragged into the trash folder, by pressing the Command + Z button or by selecting undo from Edit option, the deleted files can be restored to its location. The downside to this method is that it only functions if no other activities have been done on the page from where the file was deleted.
- You can also retrieve a file from the trash folder by double-clicking on the icon and then copying the files from the folder to your desired location. To free up space on your computer, you might decide to empty the trash folder by selecting “empty trash”.
But once the trash folder has been emptied it is impossible to get the files back except by adopting the use of a third-party Mac data recovery software.
How to recover files from Trash folder on Mac?
The recommended method to recover deleted files from trash folder of an SSD drive in a Mac is Recoverit which is a fast SSD recovery tool available to the users on Mac.
Let us look at the steps that you can use to recover your lost files on Mac using Recoverit:
Step 1: Download and Install Recoverit on Mac.
You can easily download Recoverit for Mac from Wondershare’s official website.
Note: If your Mac is running on MacOS High Sierra (macOS 10.13), you must “disable System Integrity Protection” to install the software.
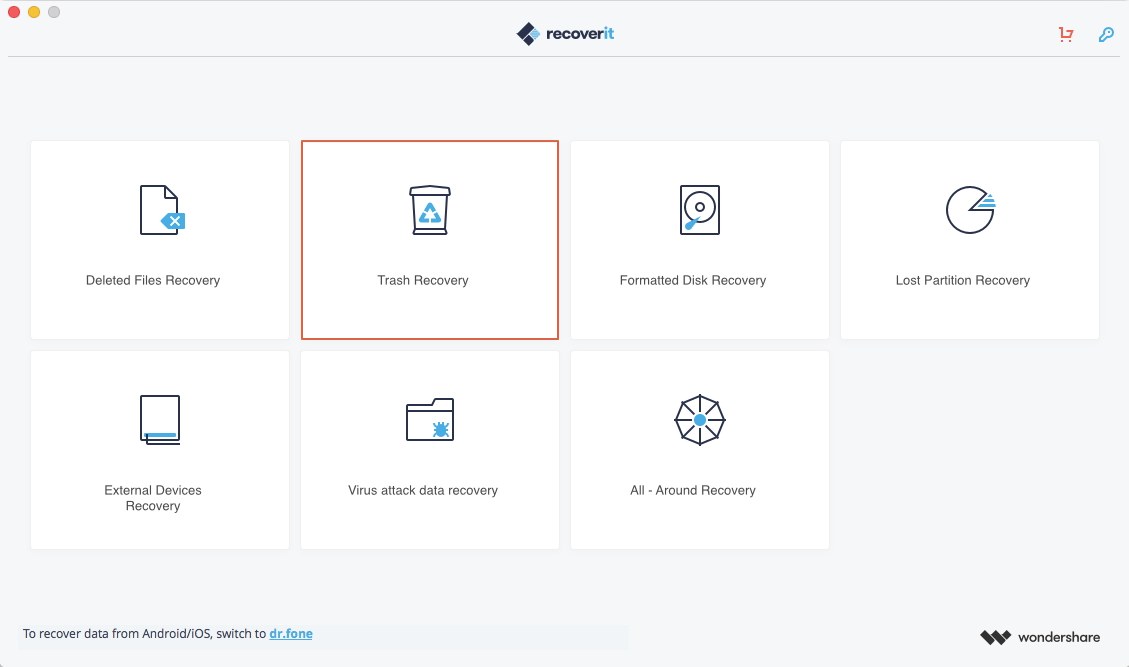
Step 2: Select Recovery mode.
On the home screen of the software click on “trash recovery” as your recovery mode.
Step 3: Scan Deleted Files.
Now, click on the “Start” button and simply wait for the program to begin to scan the trash folder on your Mac to perform an SSD drive data recovery of trash folder. If the scan is not productive, you can select the “All-round recovery” option for a deeper in-depth scan.

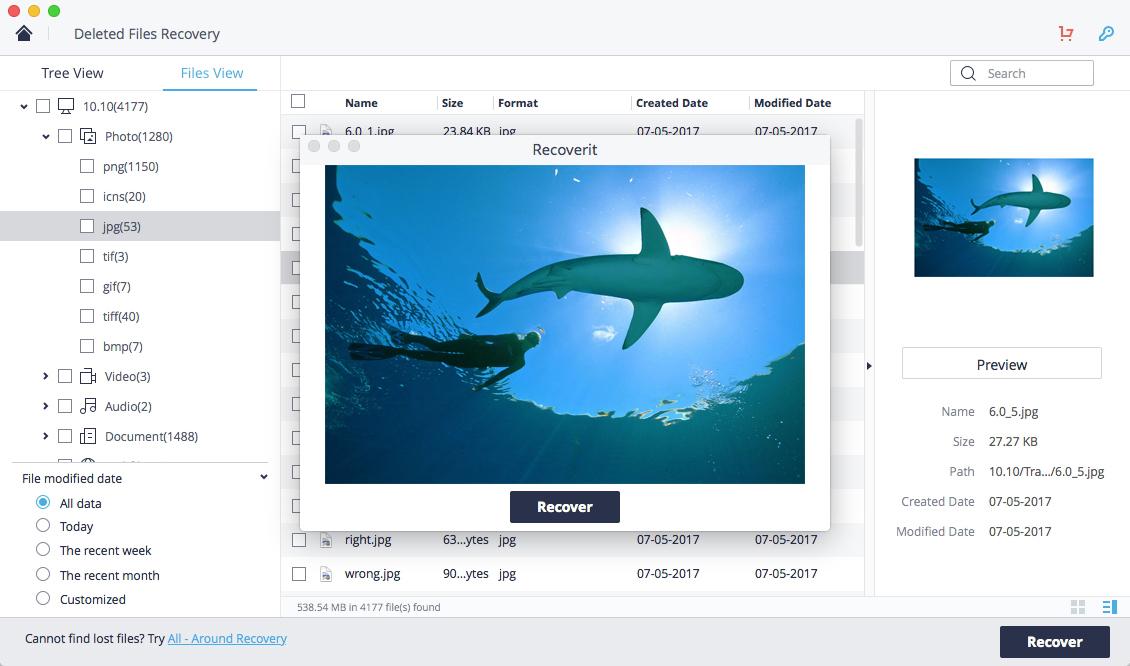
Step 4: Preview and Recover deleted files.
Once a successful scan of the trash folder has been completed you will be able to preview files that you wish to recover. Simply select the files to be recovered and then click on the Recover button at the bottom right corner of the screen. You can also select all the files to recover them to a specific folder on your Mac.
That’s it! An easy way to recover deleted files on SSD, isn’t it?
Summary
SSD data recovery from a trash folder might be difficult but is not impossible if the right software is used. Recoverit promises to be the best-in-class SSD drive recovery software with fast scan speed and easy recovery steps.


Leave A Comment