These days, we are experiencing a daily reality such that everything has been moved to the web and henceforth financial backers are keeping an eye on various online stages to see lucrative freedoms. Designers, then again, are spending restless evenings to think of devices to empower us to endure the computerized world.
In spite of the way that it’s few out of every odd individual excited about recording their PC screens, others need to follow all that is going on their PC screens. In the event that you are procuring by selling instructional exercises, you comprehend what I mean. Proficient gamers who love to share their gaming procedures on YouTube or Instagram will likewise disclose to you the worth of a screen recorder.
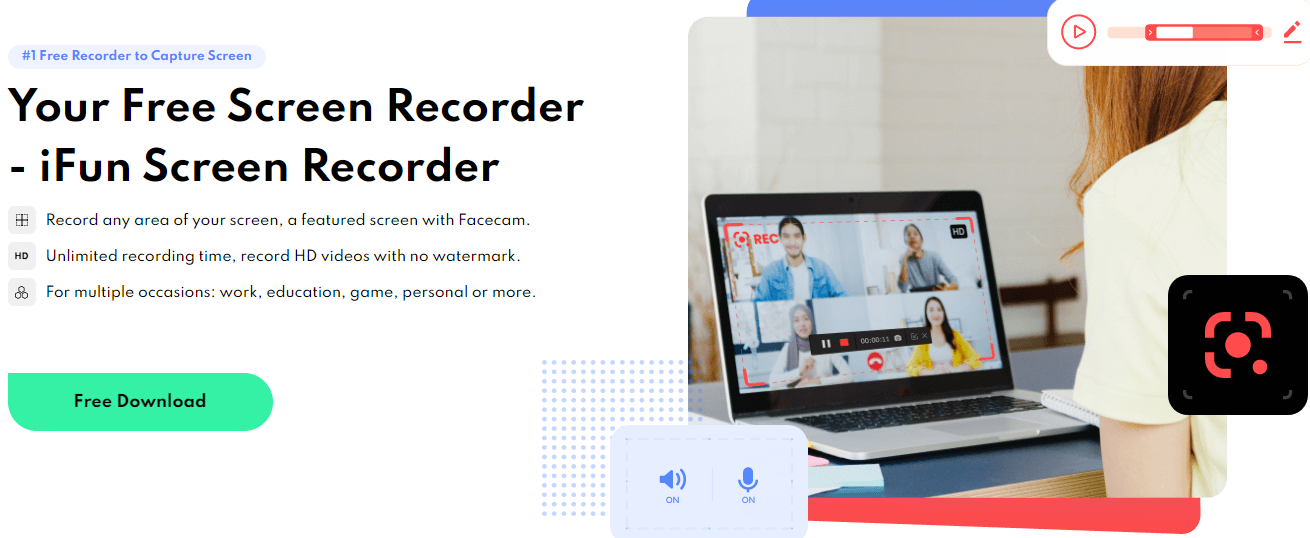
Luckily, iFun Screen Recorder and other programming came to guarantee that you don’t get a pardon with respect to why you’re not prevailing in your online undertakings. The iFun Screen Recorder is expertly intended to help you record what intrigues you on your PC screen. You can decide to record the full screen or a segment of it as you wish.
This stunning Screen Recorder gets top quality recordings advantageously. It can record pictures in 4K at a supernatural speed of around 60 fps. Clients love it since it offers in excess of ten configurations of putting away your yield recordings. You can likewise change the recordings over to any of the viable configurations to help you use them on any gadget. Some video and sound arrangements that are viable with the iFun Screen Recorder incorporate AVI, MP4, MP3, AAC, MOV, MKV, TS, FLV, AC3, FLAC, WMAV2, and AAC.
Step by step instructions to Record your Computer Screen.
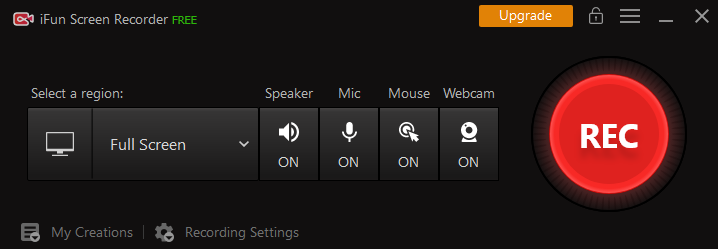
- Open the Screen Recorder and snap on the Select a district catch to choose the specific region you need to record. You should choose the favored district starting from the drop menu.
- From the Mic, Speaker, and Mouse catches you can deactivate or enact recording framework sounds, cursor pointer development, and the mouthpiece. Deactivating the Mic implies that you would prefer not to remember live sound for your yield video.
- Set the ideal fps and the yield video goal by tapping the Recording Settings button. iFun Screen Recorder upholds up to 60 fps and diverse video goals.
- After making suitable changes, click the red REC catch to start the recording. After this, you can respite or take catches/ iFun Screenshot as you proceed onward.
Edit Resulting Video Files
When you wrap up recording your screen, you can alter your recordings to utilize them on different online media stages. You can see the recorded recordings by squeezing the Video List button. In the event that you need to make the recordings more expert, you can utilize the altering alternative to manage the video edges. The managed video document can be saved in a different record before you transfer it to your YouTube Channel.
Transfer Videos Directly
You can straightforwardly transfer the recordings to web-based media stages from the iFun Screen Recorder. This is finished by right-tapping the recorded video to get a menu with the Upload alternative. Setting the cursor on the Upload button shows a rundown of social records where you can transfer your video.
Conclusion
In light of this, you presently comprehend why a few group can’t get by without the online screen recorder. I suppose you additionally need it on the off chance that you mean to set up certain instructional exercises to share on your blog, YouTube channel, or business page. It’s allowed to utilize however viable than some paid adaptations of screen recorders.
Very cool! I have been wanting to learn how to do this and haven’t figured it out! So this definitely makes it easier to understand.
This sounds like a great app. I can see using this for business applications as well.
I have a family member who’s been thinking about streaming their gaming. I’ll have to show this to them.
I’ve recently just learned how to use the screen recording function of my phone and I think it’s a great feature. It can also be beneficial for computer screen so this app is useful.
I use this all the time for my work. It’s incredibly useful for explaining something or for troubleshooting purposes.
I have a screen recorder function on my phone and it does come in handy when I need it. How awesome that there is an app that does the same thing on your laptop or desktop computers too!
What an interesting app! I think this would come in handy for every day and for business too. Thanks for sharing!
this is completely free? How cool is that, and it does not even have a watermark – thanks for pointing this program out, I am going to download this right away, right after I am finished reading more of on your blog – blessings
I like this screen recorder. Sometimes it’s really helpful especially to save videos.
This is reall interesting. I have never heard of it until now.
Great contant !
Many app I had used. but your recommended app is so amazing. This app record the screen in HD result and give accurate view with High Pixels. Now, you can obtain the Residential Moving Services Mansfield TX and get more detailed about this service.